
Your shopping cart (0)
Your basket is empty
VAT is included, shipping costs are shown at checkout
Our Top Rated Favorites


Drawer menu
VAT is included, shipping costs are shown at checkout

Dark circles, redness around your nose or one small blemish. Good coverage starts with the right shade and careful placement. You do not need to hide your whole face.
This guide helps you choose between mineral powder concealer, liquid concealer and a colour corrector. Learn to apply thin layers, compare shades and solve common makeup problems, using examples from Mineralissima’s own range.
Short answer: Concealer softens colour differences with skin-toned coverage. A colour corrector first helps balance a visible blue or red cast. Start with a small amount, press it only where needed and blend the edges. Add a second product only when the first does not give the result you want.
Choose what you want to cover first. Formula and shade come next.
| Your goal | First step | Keep in mind |
|---|---|---|
| Slight under-eye darkness | A skin-toned product that blends into your complexion, applied sparingly. | A much lighter shade does not necessarily cover better. |
| Clearly blue-toned circles | A little peach correction, followed by skin-toned coverage if needed. | Papaya is one option to compare on fair to medium-light skin. |
| Localised redness | Try ordinary coverage first; add a little green corrector if needed. | Keep green on the red area rather than across your face. |
| One blemish or small mark | Skin-toned concealer with a small brush. | Blend the edges without wiping coverage off the centre. |
| Dry or textured under-eyes | A small amount of product over suitable skincare. | Setting powder is optional. |
Look at the area in daylight before choosing a product. Is your under-eye blue-toned, is there a brownish mark, or does the darkness mainly come from a shadow? Two dark areas can look similar while benefiting from different approaches.
A suitable concealer shade can soften discolouration. A hollow, puffiness or a raised blemish is different: makeup changes the impression of colour, rather than the structure itself. When the light changes, a shadow may become visible again.
Think about the coverage you actually want. A small local correction may be enough for a fresher everyday look. Everything does not have to disappear. Keeping the surrounding skin light can make the whole result feel more natural.
Try this: look at your whole face from a normal conversation distance. A detail that stands out in a magnifying mirror does not always need another layer.
Skin-toned concealer helps an area blend into the surrounding complexion. A colour corrector deliberately has a different tint: peach for a blue cast, for example, or green for local redness.
You do not have to use both every day. If a thin layer of concealer is enough, correction may simply add another layer. If a blue circle looks grey beneath a skin-toned product, a little correcting warmth may let you use less concealer.
The corrector should not remain visible as a separate coloured patch. Start with so little that you mainly notice the contrast softening. If green, peach or pink still stands out, reassess the amount and shade before applying more coverage on top.
Our guide to concealer versus colour corrector explains their different roles. Here, we take that choice into practical application.
The format changes how you pick up and apply the product. Liquid concealer can be tapped into a thin layer. With powder, take a little onto a brush and tap off the excess first. Neither format is automatically the right choice for everyone.
Cover Up is a liquid, skin-toned concealer for targeted coverage. Compare it if you enjoy a creamy application. Skin Fix is a skin-toned mineral powder concealer that you build with a brush.
A thick powder layer can emphasise dry under-eye texture. A liquid can also gather in lines or remain visible on dry patches. The words liquid and mineral alone cannot tell you how a product will look later in the day.
Check both the fresh finish and the feeling after a few hours. Read the full ingredient list for your particular shade, especially if you have a known allergy or sensitivity.

Start with a small amount, tap onto the darker area and blend the edges. The photo shows Light; choose the shade that matches your own skin.
Explore Cover Up Light →For a blemish, the sides of your nose or a small mark, a shade close to your skin is often more useful than a brightening shade. A distinctly pale dot can draw attention to the exact place you wanted to soften.
A slightly lighter shade can brighten the under-eyes, but this is not a fixed rule. Start close to your complexion or a foundation that matches well. If the darkness turns grey, going even lighter is not necessarily the answer.
Look at undertone as well as depth. Does the concealer stay visibly pink, yellow or orange, even though it is neither too light nor too dark? Compare a similar depth in a different undertone. Test where you intend to wear it, rather than just on your hand.
Our concealer shade guide helps separate depth from undertone. Product photographs are a starting point; screens and lighting affect what you see.
Choose a corrector according to the visible discolouration and the depth of your own skin. The products below are possible starting points, rather than a rule that everyone with a certain complexion needs the same shade.
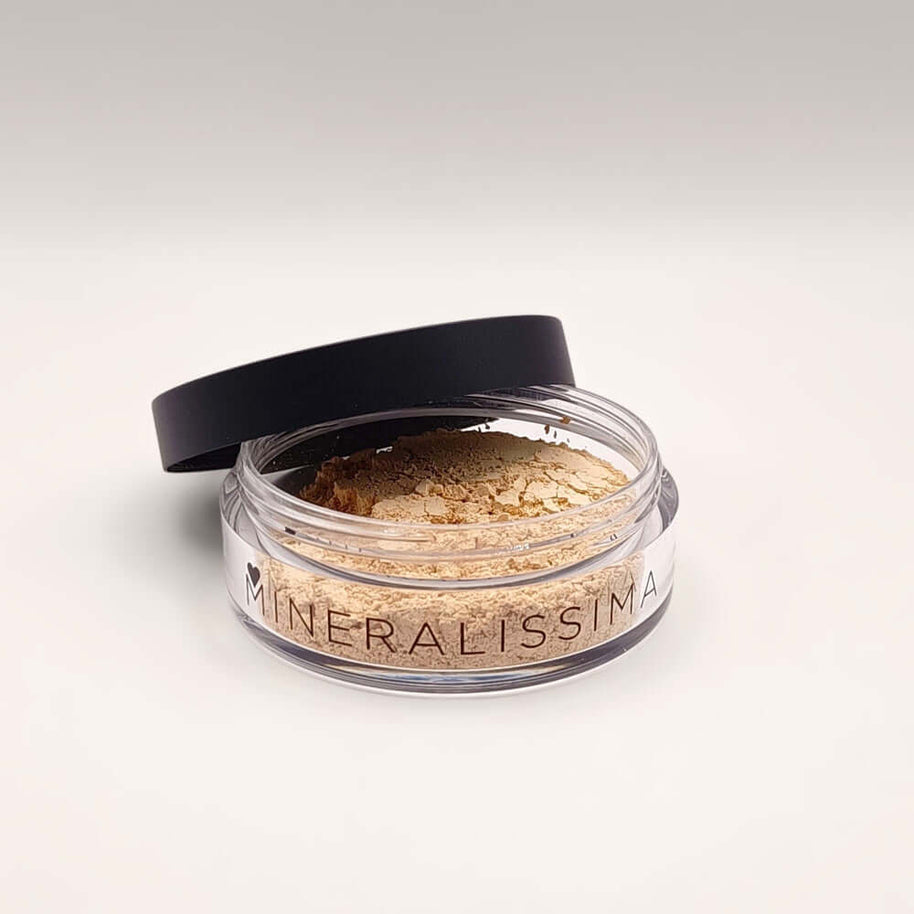
Papaya has a warm peach tint for blue-toned shadow areas. Rose offers soft pink brightening and is matte: the effect comes from colour rather than shimmer. Amber is a warm powder concealer to compare on medium-deep and deeper complexions.
Foliage is the green corrector within our mineral concealer range. Use it precisely on redness. Green is not the usual first step for blue under-eye darkness.
If the correcting shade remains visible, try less or compare another colour. More concealer on top may make the result unnecessarily thick. A useful correction should allow the skin-toned layer to stay light.

Under-eye darkness is rarely equally strong across the whole area. A large concealer triangle can put a lot of product on skin that does not need additional coverage. Start precisely and see what a small correction does for your whole face.
A little extra correction beneath the inner corner may help, but you do not need to work right up to the lashes. Look at the result while smiling and speaking too. A comfortable finish needs to work with your moving face.
For redness around the nose or on the cheeks, try a thin foundation layer first. You may then need only a little skin-toned concealer. A clearly red spot can benefit from a small amount of green correction.
Pick up very little Foliage, tap off the brush and press it only onto the red area. Add the skin-toned layer gently over it. Too much green, or spreading it over the whole face, may leave a grey cast.
Limit friction. Skin that reddens easily does not need prolonged brushing back and forth in pursuit of maximum coverage. Use a soft tool and pause to look at the result before building further.
Makeup disguises the appearance of redness, rather than treating its cause. Avoid inflamed or broken skin and stop if a product stings. Our foundation guide for redness can help you choose the rest of your base.
A small mark calls for a small working area. Take a little skin-toned concealer onto a precise brush. Press it onto the mark, then soften mainly the outer edge.
Immediately buffing across the whole area can move coverage off the centre. Apply one light layer, look again and add a little to the centre only if necessary. An overly pale concealer or a shiny finish can make the spot more noticeable.
A red blemish and a brownish post-blemish mark do not automatically need the same correction. Green is not routinely needed on a brown mark. If red still shows through, a minimal green layer before the skin-toned coverage may help.
A raised blemish may remain visible in side lighting. Makeup does not change that structure. Avoid open or broken skin, keep brushes clean and do not return a contaminated brush to your product.
Lines are not an application mistake. Your under-eye area moves when you talk and smile, and concealer can move with it. The aim is coverage that looks comfortable with a lively expression.
Let skincare absorb and start with less product than you think you need. On dry skin, a heavy powder layer may stay visible. A liquid is worth comparing, but it can also gather if you use too much or leave a very slippery base underneath.
Concentrate coverage on the discolouration and keep the rest light. If setting powder emphasises texture, use less or try without it. Avoid changing every product at once: one adjustment makes it easier to see what helped.
Formulas do not have an age limit. Powder is not reserved for young skin, and liquid is not automatically better for every mature complexion. Your skin, the thickness of the layer and the finish you enjoy guide the choice.
Different combinations call for different routines. When mixing liquid and powder products, try to avoid having to work a wet product back into an already finished powder layer.
Liquid foundation with Cover Up: try a thin base first, then add concealer where you still need coverage. Tap locally without rubbing away the foundation.
Powder foundation with liquid concealer: generally apply the liquid concealer first. Let it settle, then add powder foundation gently, keeping the under-eye amount small.
Powder corrector with powder foundation: begin with a little correction and add skin-toned powder if needed. Work lightly so that you do not move the correction. Test a powder corrector under liquid foundation on a small area; thick alternating layers can make the finish uneven.
You can wear concealer without foundation too. Pay particular attention to the shade match and the transition onto bare skin. Read more about concealer or foundation first.
If the under-eye looks smooth just after application but develops stripes later, extra powder is not always the answer. Check whether there is a generous concealer layer or very slippery skincare underneath.
Move your face normally after applying and look again. If product has gathered in a line, gently lift the excess with a clean, soft brush or a suitable sponge. You want to reduce the build-up rather than press another layer onto it.
Next time, use less and place it more precisely. If you want to set liquid concealer, try a light amount of powder only where needed. A thick layer across the whole area may make the skin look drier.
No formula or technique guarantees a completely crease-free result. Light, comfortable coverage can be more practical than a heavy layer you need to keep correcting.
Reduce an overly pale layer. Check the shade match and whether blue discolouration still shows through. A little suitable correcting warmth may be more useful than another lighter concealer. A corrector that is too pale can also stand out on deep skin.
Consider the amount, skincare and setting powder. Gently remove excess or start again on a small area. Another layer rarely makes a heavy finish lighter.
Let the base settle and tap the next layer instead of rubbing. Test products separately too, so you can see which combination makes the finish move.
Try less product on a smaller area before adding more skin-toned coverage. Another correcting shade may be a better match.
Stop using it and remove your makeup gently. Do not cover irritation with another product. Seek medical advice if symptoms persist.
Test where you actually want to wear the product. Your hand can tell you something about texture, but it does not have the same colour, dryness or movement as your under-eye area. Use your usual skincare and assess in daylight.
Look for three things: does the shade blend into the surrounding skin, do you get enough coverage with a small amount, and does it remain comfortable? Compare shades using the same amount so that a thicker layer is not mistaken for a different colour.
Selected Mineralissima concealers have a tester option. Check the size and shade choices on the individual product page. A tester helps you assess shade and feel, but does not guarantee an allergy-free experience or replace avoiding a known allergen.
Ask for personal shade advice if you are unsure. Tell us whether you want to cover under-eyes, redness or a small mark. That is a more useful starting point than simply asking for the fullest coverage.
Not always. Start with skin-toned coverage. Add a corrector only if a visible red or blue cast needs extra balancing.
Tap a small amount onto the darkest area and blend the edges. Add a second thin layer only if needed. A little peach correction beforehand may help blue discolouration that shows through.
Not necessarily. A shade close to your skin is a good starting point. Slightly lighter can brighten, but an overly pale shade may stand out or look grey.
Papaya is warm peach for blue shadow areas. Rose is soft pink, matte powder for subtle brightening. Compare the shades on your own skin.
Yes, if the formula feels comfortable and you use little. Too much powder can emphasise dryness. Compare a liquid texture if helpful.
Amount, a slippery base and movement can contribute. Reduce excess, place it more precisely and powder only if needed. A completely crease-free finish cannot be guaranteed.
No. It can soften colour differences but does not change structure. A shadow caused by the lighting may remain visible.
Yes. Choose a shade that blends into your skin, soften the edges and cover only where you want to.
Decide what you want to cover, compare the formula and try a suitable shade. Build only after seeing what a little product does.
Kati is the Finnish founder of Mineralissima, established in the Netherlands in 2007. Product examples follow our own formulas and application instructions. Mineralissima sells the products mentioned. This guide covers cosmetic camouflage, rather than the treatment of skin conditions.
Product information checked on 18 October 2026. The FDA provides general advice on clean tools, eye-area use and stopping irritating cosmetics. The American Academy of Dermatology explains contact dermatitis and fragrance sensitivity. External sources are not product reviews or endorsements of Mineralissima.
Papaya, Rose, Amber, Cover Up Light.
FDA: Eye Cosmetic Safety · American Academy of Dermatology: contact dermatitis


